How to Use VPN to Change Location
In the digital world we live in today, it’s become increasingly important to understand how to use a VPN, or Virtual Private Network, to change your location. This handy tool can help you browse the internet with increased privacy and security. Not only that, but it also allows you to access content that might otherwise be restricted in your area.
Among the top-notch VPNs available, ExpressVPN, NordVPN, and Surfshark lead the pack because of their reliability and ease of use. These tools work by masking your actual IP address and replacing it with one from a different location. So if I’m sitting here in New York but want my online activity to reflect as if I’m browsing from London – these VPNs can make it happen!
Whether you’re looking for enhanced security, want to bypass geo-restrictions on content like movies or music, or simply wish to remain anonymous while surfing the web – understanding how to use a VPN effectively is an essential skill in this day and age. Let me guide you through this process step-by-step so that even if you’re not tech-savvy, you’ll be able to navigate this territory with confidence.
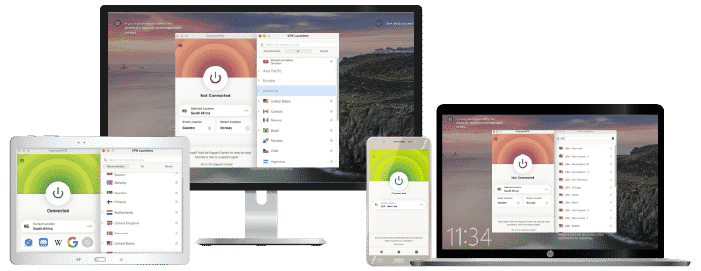
ExpressVPN
Overall score: 9.8
- 3,200 servers across 105 countries
- Works with streaming platforms
- AES 256-bit encryption
- Supports private protocol, Lightway
- Money-back guarantee
30-day money-back guarantee
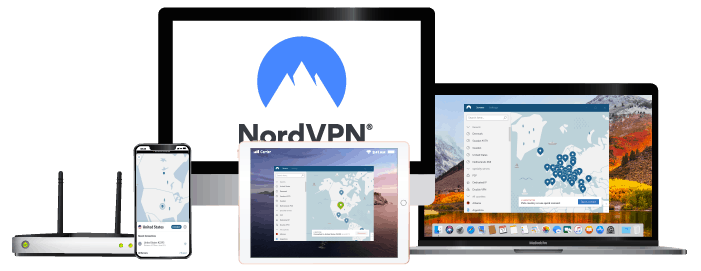
NordVPN
Overall score: 9.6
- 8,700+ servers available in 129 countries
- Connect up to 10 devices simultaneously
- Great security features
- Verified no-logs policy
- Unblocks streaming platforms
30-day money-back guarantee
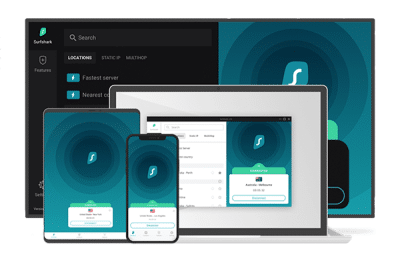
Surfshark
Overall score: 9.5
- 4,500+ servers in 100+ countries
- Allows unlimited simultaneous connections
- Integrates stealth mode
- Multihop feature available
- Webcam protection from unauthorized apps
30-day money-back guarantee
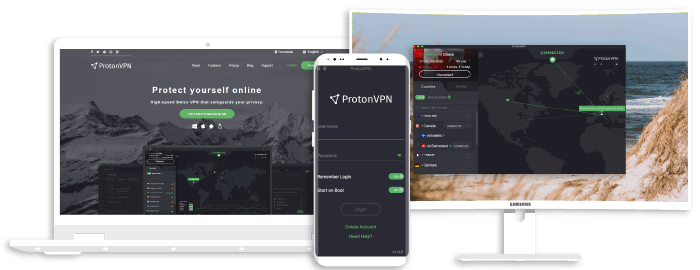
Proton VPN
Overall score: 9.4
- 17,250+ servers in 125 countries
- Free version available
- Strong security features
- Reliable no-logs policy
- Allows Perfect Forward Secrecy
30-Day Money-Back Guarantee
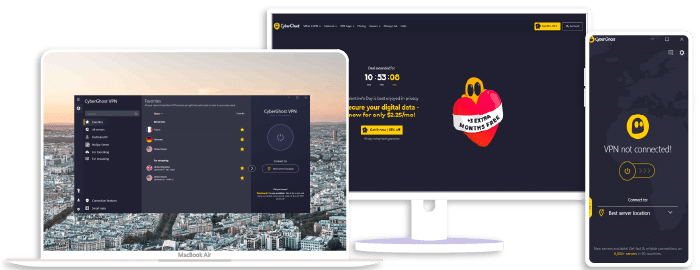
CyberGhost
Overall score: 9
- 9,300+ reliable servers in 100 countries
- 45-day money-back guarantee
- Strict no-log policy
- Tough security features
45-Day Money-Back Guarantee
Understanding VPN: What It Is and How It Works
Before we delve into how to use a VPN to change your location, it’s crucial that we first understand what a VPN really is. A Virtual Private Network (VPN) is a tool that helps protect your online privacy and enhances your internet security.
A VPN works by creating an encrypted connection between your device and the remote server, effectively masking your online identity. This safe tunnel ensures data traveling between your computer or smartphone and the internet is secure from prying eyes.
There are numerous reputable VPN service providers available today. Top-tier options like ExpressVPN, NordVPN, and Surfshark are often recommended due to their robust security features and seamless user experience. All these services offer you the ability to ‘change’ your IP address — this essentially means you’ll appear to be browsing from another location.
The primary function of a VPN isn’t just about changing locations, though; it’s also about providing security. When I connect my device to a VPN, my traffic gets encrypted before it leaves my device. This encryption makes it impossible for anyone eavesdropping on the network (even if they’re using the same Wi-Fi) to see what I’m doing online.
One more thing worth mentioning — with a good quality service provider like ExpressVPN, NordVPN, or Surfshark, you won’t have to worry about bandwidth limitations either. These services usually have thousands of servers located in different parts of the world, which ensure high-speed connectivity without any restrictions.
To sum up:
- A VPN creates an encrypted connection between your device and the internet.
- Top-tier VPNs like ExpressVPN, NordVPN, or Surfshark help mask your actual location.
- The main purpose of using a VPN is not just changing locations but enhancing online privacy.
In our next section, we’ll explore step-by-step instructions on how exactly you can use these tools to change your virtual location!
Step-By-Step Guide: Using VPN to Modify Your Virtual Location
Feeling limited by geographical restrictions online? It’s time to discover how a VPN can help. With a few simple steps, ExpressVPN, NordVPN, or Surfshark can change your virtual location and unlock the internet freedom you’ve been dreaming of.
Step 1: Choose your VPN provider. I’ll suggest ExpressVPN, NordVPN, or Surfshark. They are all reliable options with robust security features.
Step 2: Download and install the software. Each of these providers has easy-to-follow instructions on their website for setting up the software on various devices including PC, Mac, Android, and iOS.
Step 3: Launch the application. You’ll need to sign in using your chosen username and password.
| ExpressVPN | NordVPN | Surfshark | |
|---|---|---|---|
| Sign-in Required? | Yes | Yes | Yes |
Step 4: Select a server location. This is where you get to play globetrotter! The server you choose will determine your new digital address – so pick one that matches where you want websites to think you’re located.
Here are some quick tips:
- For faster connections, select servers closer to your actual location.
- If looking to access specific content (like Netflix US), ensure the server is in that country.
Now it’s time for action!
- For ExpressVPN users: Click on ‘Choose Location’ then ‘All Locations’ to see available servers.
- If it’s NordVPN : Head over to the map or scroll down through the list of countries.
- Surfing with Surfshark? Go ahead and click ‘Locations’.
Finally, click ‘Connect’. Voilà! You’ve effectively changed your virtual location!
Remember, this isn’t just about accessing geographically restricted content – it’s also a powerful tool for protecting your privacy online. So next time someone asks “What’s my IP?”, feel free to smile knowingly as they scratch their heads at your globe-trotting digital persona!
Conclusion: The Benefits and Limitations of Changing Location with a VPN
I’ve explored the ins and outs of using a VPN to change location. Now, let’s summarize our findings and wrap up this discussion.
Using a VPN like ExpressVPN, NordVPN, or Surfshark can provide several benefits:
- Internet Freedom: It lets me access geo-restricted content from anywhere in the world.
- Privacy Protection: My online activities become anonymous, safeguarding my personal data against prying eyes.
- Avoidance of Price Discrimination: I can shop around for better deals that might not be available in my actual location.
However, there are limitations to consider as well:
- Speed Reductions: Traffic rerouting through VPN servers may cause slight reductions in internet speeds.
- Compatibility Issues: Not all devices support every VPN service. For instance, while NordVPN works seamlessly on most platforms, this might not be true for all services.
- Regulatory Restrictions: Some countries have stringent regulations against the use of VPNs which could pose challenges.
Despite these potential drawbacks, though, I’m convinced that the merits outweigh them significantly when it comes to using a VPN to change location. Whether it’s for accessing restricted content or securing online privacy, services like ExpressVPN or Surfshark make these goals achievable. As always though, it’s crucial to choose wisely based on specific needs and circumstances. After all, each user’s experience will be unique, and what works best for one person may not necessarily work as well for another.
In closing out this article about how to use a VPN to change location – whether you’re an expatriate wanting your home country Netflix selection or just someone concerned about privacy – hopefully you now see both sides of the coin more clearly!
Join the TechRobot Newsletter
Actionable tips on online security, the best VPNs, unblocking guides, and special offers — straight to your inbox.

