How to Use VPN on Chrome
We all value our privacy, don’t we? In today’s digital age, protecting your online activities from prying eyes is more important than ever. That’s where tools like VPNs come in handy. If you’re a Chrome user like me, you’ll be pleased to know that setting up and using a VPN on this popular browser is quite straightforward.
I’ve been through the process multiple times with various VPN services including ExpressVPN, NordVPN, and Surfshark. Each of these has proven its worth by offering top-notch security features and easy-to-use interfaces. They allow me to browse the web anonymously and access content that might otherwise be blocked in my region.
So, how do you get started with using a VPN on Chrome? It’s simple! You just need to install an extension for your chosen VPN service directly from the Chrome Web Store. Once it’s installed, you can connect to a server of your choice, it really is as easy as clicking just one button! Stay tuned as I walk you through each step of this process.
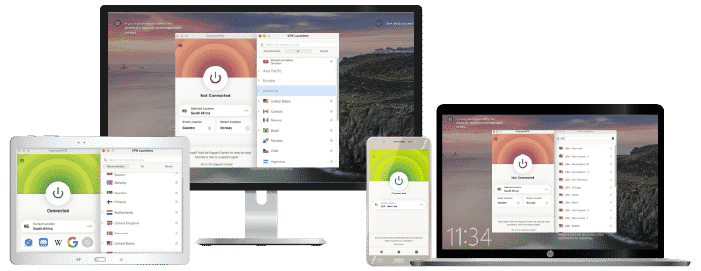
ExpressVPN
Overall score: 9.8
- 3,200 servers across 105 countries
- Works with streaming platforms
- AES 256-bit encryption
- Supports private protocol, Lightway
- Money-back guarantee
30-day money-back guarantee
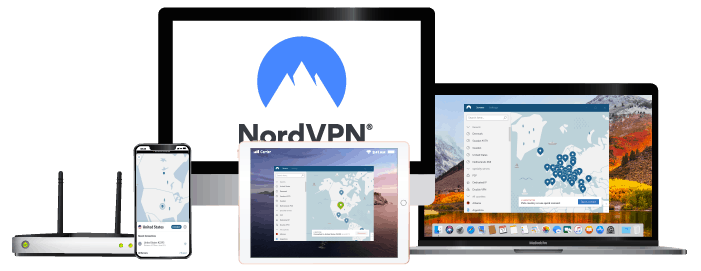
NordVPN
Overall score: 9.6
- 8,700+ servers available in 129 countries
- Connect up to 10 devices simultaneously
- Great security features
- Verified no-logs policy
- Unblocks streaming platforms
30-day money-back guarantee
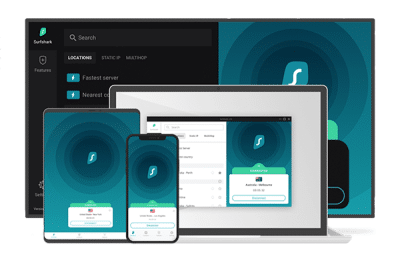
Surfshark
Overall score: 9.5
- 4,500+ servers in 100+ countries
- Allows unlimited simultaneous connections
- Integrates stealth mode
- Multihop feature available
- Webcam protection from unauthorized apps
30-day money-back guarantee
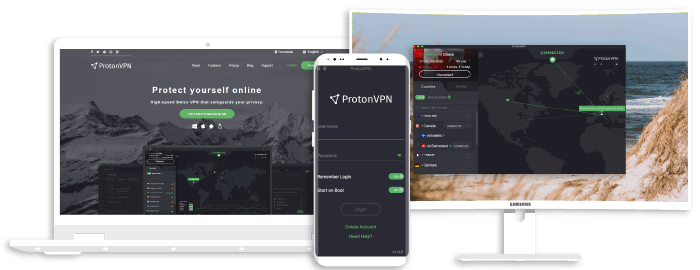
Proton VPN
Overall score: 9.4
- 17,250+ servers in 125 countries
- Free version available
- Strong security features
- Reliable no-logs policy
- Allows Perfect Forward Secrecy
30-Day Money-Back Guarantee
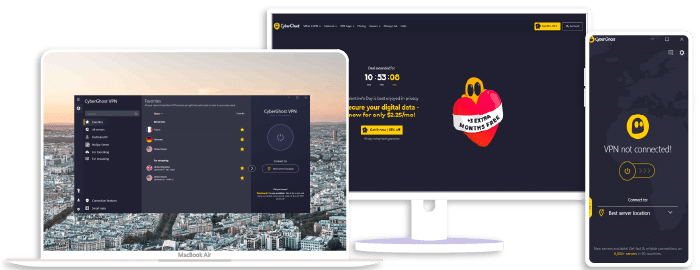
CyberGhost
Overall score: 9
- 9,300+ reliable servers in 100 countries
- 45-day money-back guarantee
- Strict no-log policy
- Tough security features
45-Day Money-Back Guarantee
Understanding the Need for a VPN on Chrome
Let’s pull back the curtain on why you’d want to use a VPN, like ExpressVPN, NordVPN, or Surfshark, with your Google Chrome browser. The internet’s a wild place – it’s teeming with opportunities but also lurking dangers. A VPN gives you an extra layer of protection.
First off, privacy is no joke. It’s not about having something to hide; it’s about maintaining your right to personal space in this digital age. When I browse without a VPN, my Internet Service Provider can see everything I do online – every website I visit and every word I type in search bars. They might even sell this data! With a VPN on Chrome, though? That won’t happen. My online activity becomes completely invisible to them.
Secondly, ever heard of geo-blocking? Some websites restrict their content based on where you’re browsing from; streaming services are infamous for this. But wait, don’t let that discourage you! Here’s where using a tool like NordVPN shines bright, it allows me to change my virtual location by connecting through servers in other countries.
Additionally, public Wi-Fi networks at coffee shops or airports aren’t exactly Fort Knox when it comes to security. Hackers could potentially snag my data as it travels across these unsecured networks. However, with Surfshark activated on my Chrome browser, all my data is encrypted before it leaves my device – keeping those cyber baddies at bay!
Lastly, some ISPs throttle bandwidth if they notice too much traffic going towards certain sites (like YouTube). Using ExpressVPN hides what sites I’m visiting from them, which means they can’t slow down my connection based on usage.
To wrap up this section:
- ExpressVPN, NordVPN, and Surfshark are powerful tools for enhancing privacy and security.
- They can bypass geo-blocks and prevent ISP tracking.
- Don’t underestimate the importance of using one with Google Chrome!
Remember these points as we move forward into discussing how exactly one utilizes a VPN with Chrome!
Step-by-Step Guide: Setting Up a VPN on Chrome
I’m going to walk you through the process of setting up a VPN on Chrome. It’s not as daunting as it might seem, and once you’ve got the hang of it, you’ll be browsing with added security in no time.
For this guide, I’ll use examples from three popular providers – ExpressVPN, NordVPN, and SurfShark.
First things first, head over to your chosen VPN provider’s website. Whether that’s ExpressVPN, NordVPN, or Surfshark doesn’t matter at this point – they all offer quality services tailored for Chrome.
Once there, you’ll need to create an account if you haven’t done so already. After logging in, navigate to the ‘Downloads’ section and find the Google Chrome extension. Click ‘Download’, then wait for the installation file to save onto your computer.
Now comes the fun part – installing your VPN onto Chrome itself. Open up a new tab in Chrome and click on the three-dot icon located in its top-right corner. From there:
- Select ‘More Tools’
- Choose ‘Extensions’
- Click ‘Load unpacked’
- Find and select your downloaded VPN extension
At this stage, you should see your chosen VPN – whether it’s ExpressVPN, NordVPN, or SurfShark – appear in your list of extensions.
To activate your newly-installed extension:
- Click on its respective icon next to the address bar
- Sign in to your account
- Connect to any server location displayed within
Voilà! You’ve successfully set up a VPN on Google Chrome! The color of your VPN icon will change according to its status (usually green when connected), allowing me to easily keep track of my online protection status.
Remember: while using a VPN enhances online privacy significantly compared with surfing unprotected, it’s not entirely foolproof – but that’s a topic for another day!
In summary: getting started with using a trusted provider like ExpressVPN, NordVPN or SurfShark couldn’t be easier! Once installed via their respective websites and activated within Google Chrome itself – we’re good, start browsing securely.
Wrapping Up: Making the Most of Your VPN
I’ve shed light on how to use a VPN on Chrome, and now it’s time to wrap up. To make the most out of your Virtual Private Network (VPN), you’ll need to consider a few key things.
Firstly, remember that not all VPNs are created equal. Some popular options include ExpressVPN, NordVPN, and Surfshark. Each one has its own unique features:
- ExpressVPN – Offers a broad network of servers worldwide and is praised for its speed.
- NordVPN – Known for its robust security measures, including double encryption.
- Surfshark – Provides unlimited simultaneous connections and is budget-friendly.
Choosing between these will depend on your specific needs. For instance, if you’re primarily concerned about speed for streaming content, ExpressVPN might be your best bet.
Another point worth keeping in mind is always keeping your VPN turned on while browsing. It’s easy to forget this step when you’re in a hurry, but it’s crucial for maintaining privacy and security online.
Lastly, consistently update your VPN software. Companies continually improve their services by releasing updates, which often contain important security enhancements or new features.
Remember that using a VPN isn’t just about bypassing geo-restrictions or accessing blocked content; it’s also about ensuring safe and private internet usage. By selecting the right service like ExpressVPN or NordVPN or Surfshark – and utilizing it effectively – I’m confident you can significantly enhance your online experience.
Join the TechRobot Newsletter
Actionable tips on online security, the best VPNs, unblocking guides, and special offers — straight to your inbox.

