How to Unblock Everything on a School Computer
As a tech enthusiast, I understand the frustration of encountering blocked content on a school computer. It’s an unfortunate reality that can limit your ability to research certain topics or even unwind during study breaks. However, I’m here to tell you that there are practical solutions out there for this issue.
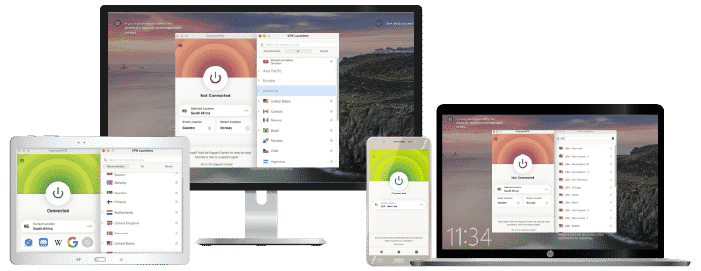
One popular method is by using a Virtual Private Network (VPN). With top-tier services like ExpressVPN, NordVPN, and Surfshark, it becomes possible to bypass these restrictions safely and securely. These VPNs work by masking your actual IP address and making it appear as though you’re browsing from another location entirely – effectively unblocking everything on your school computer.
Remember though, while it’s easy enough to use these platforms, always make sure you’re not violating any rules set by your institution in the process. The goal isn’t just about getting past blocks; it’s about doing so responsibly and ethically.
ExpressVPN
Overall score: 9.8
- 3,200 servers across 105 countries
- Works with streaming platforms
- AES 256-bit encryption
- Supports private protocol, Lightway
- Money-back guarantee
30-day money-back guarantee
NordVPN
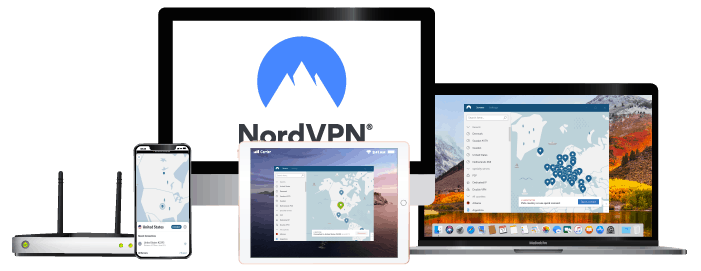
Overall score: 9.6
- 8,700+ servers available in 129 countries
- Connect up to 10 devices simultaneously
- Great security features
- Verified no-logs policy
- Unblocks streaming platforms
30-day money-back guarantee
Surfshark
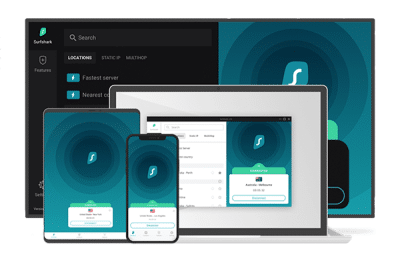
Overall score: 9.5
- 4,500+ servers in 100+ countries
- Allows unlimited simultaneous connections
- Integrates stealth mode
- Multihop feature available
- Webcam protection from unauthorized apps
30-day money-back guarantee
Proton VPN
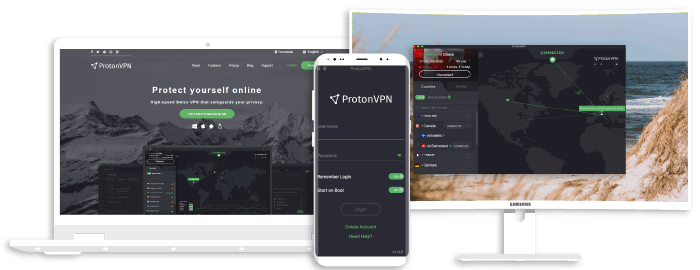
Overall score: 9.4
- 17,250+ servers in 125 countries
- Free version available
- Strong security features
- Reliable no-logs policy
- Allows Perfect Forward Secrecy
30-Day Money-Back Guarantee
CyberGhost
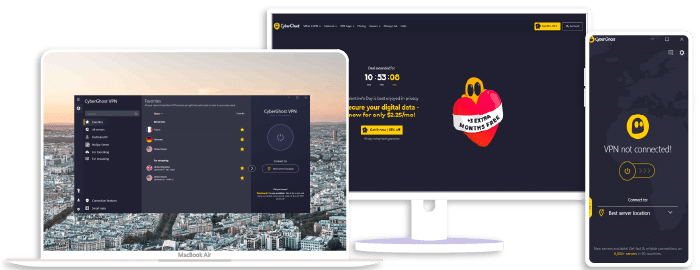
Overall score: 9
- 9,300+ reliable servers in 100 countries
- 45-day money-back guarantee
- Strict no-log policy
- Tough security features
45-Day Money-Back Guarantee
Understanding School Computer Restrictions
It’s no secret that schools put restrictions on their computers. But what exactly does this mean? What are these limitations, and why do they exist? To unblock everything on a school computer, I first need to understand these restrictions.
Most schools implement internet filters or firewalls as a way to control the content students can access from school computers. These measures aren’t meant to be a nuisance; they’re primarily in place for two main reasons:
- Safety: Schools want to protect students from harmful or inappropriate content. This includes websites with explicit material, violence, hate speech, and more.
- Focus: By blocking entertaining sites like Netflix or YouTube, the intention is that students will use school computers strictly for academic purposes.
While these intentions are good-hearted, it might sometimes feel stifling when you’re unable to access certain educational resources because of these restrictions. That’s where VPNs come into play.
Virtual Private Networks (VPNs) like ExpressVPN, NordVPN, and SurfShark can help bypass these firewall restrictions by disguising your internet traffic. Essentially making your activities online invisible to any eavesdroppers including your school’s network administrators.
However before you rush off to download one of these services remember using a VPN in this context isn’t as simple as flipping a switch. There are potential consequences related:
- Legal implications: Certain jurisdictions may have laws against using such tools without permission.
- School rules: Your school likely has policies against bypassing their security measures which could lead disciplinary action if caught.
So while it’s technically possible to unblock everything on your school computer through VPNs like ExpressVPN, NordVPN or SurfShark it’s crucial we consider the potential repercussions before doing so.
Step-by-Step Process to Unblock Everything on a School Computer
Unblocking everything on a school computer can seem daunting at first, but I’m here to guide you through this process. It’s important to note that these instructions should be used responsibly and ethically.
Firstly, you’ll need a Virtual Private Network (VPN). A VPN masks your online identity and makes it appear as though you’re browsing from somewhere else. This is key in bypassing restrictions set by the school network. Some of the most reliable VPN services include ExpressVPN, NordVPN, and Surfshark.
Here’s how you can setup these VPNs:
- Download the desired VPN application: Whether it’s ExpressVPN, NordVPN, or Surfshark, go to their official website and download the app suitable for your device.
- Install the downloaded application: Follow the prompts provided by your chosen VPN service to install it onto your computer.
- Open the installed app: Once installed, open up your selected VPN application.
- Connect to a server: In order to mask your location effectively, connect yourself with any server outside of your current region.
Now that we’ve got our trusty VPN installed and running, let’s move on to unblock specific content.
To access blocked websites:
- Use Proxy Websites: There are several web proxy servers such as Hidden Ninja or Proxify which act as middlemen between you and restricted sites.
- Utilize IP Rather Than URL: Every site has an IP address which might not be blocked; hence using IP rather than URL could bypass some restrictions.
If certain software applications are blocked:
- Try Portable Apps: These are versions of software that don’t need installation on a computer so they can bypass system admin restrictions.
- Use Online Applications: Many popular software have online counterparts like Microsoft Office 365 or Google Docs.
Remember always respect rules put in place by institutions – they’re there for good reasons! Don’t abuse these methods just because you now know how easy it is to unblock everything on a school computer!
Conclusion: Navigating Internet Freedom Responsibly
Let’s wrap up our discussion on unblocking everything on a school computer. We’ve discussed the details of how to achieve this, but I’d like to leave you with some important thoughts about navigating your newfound internet freedom responsibly.
Firstly, remember that every tool we’ve talked about – whether it’s ExpressVPN, NordVPN or Surfshark – should be used ethically and within the bounds of your school’s guidelines. While these tools can open up a world of information for you, they’re not meant to encourage misuse or violation of rules.
Secondly, using VPNs securely is paramount. Sure, you now know how to access blocked websites on a school computer but that doesn’t mean you should throw caution to the wind. Your online safety remains crucial at all times – don’t forget that!
Here are some key takeaways:
- Use VPNs responsibly
- Respect your school’s internet use policies
- Ensure your online safety while using VPNs
Lastly, though it may seem thrilling to unblock everything on a school computer, it’s essential not to let this distract from what’s really important – learning! The internet is an amazing resource full of opportunities for growth and discovery but balance is key.
I hope my advice helps guide you towards responsible use of VPNs in an educational setting. After all, technology is a powerful tool when used wisely and appropriately!