How to Use VPN on Mac
Navigating the digital landscape with a sense of security and privacy is crucial in today’s world. That’s where VPNs, or Virtual Private Networks, come into play. ExpressVPN, NordVPN, and Surfshark are among the best solutions for Mac users looking to shield their online activities from prying eyes.
I’ve often found that using a VPN on my Mac isn’t as intimidating as some might think. It’s actually quite straightforward if you know the steps involved. Whether you’re a newbie to this whole concept or someone who’s tried it before but needs a little refresher, I’m here to guide you through the process.
Do remember; these VPN services aren’t just about concealing what you do online. They also help access geo-restricted content, protect your data on public Wi-Fi networks, and maintain net neutrality by preventing bandwidth throttling. So let’s dive right into how you can utilize these features on your Mac.
ExpressVPN
Overall score: 9.8
- 3,200 servers across 105 countries
- Works with streaming platforms
- AES 256-bit encryption
- Supports private protocol, Lightway
- Money-back guarantee
30-day money-back guarantee
NordVPN

Overall score: 9.6
- 8,700+ servers available in 129 countries
- Connect up to 10 devices simultaneously
- Great security features
- Verified no-logs policy
- Unblocks streaming platforms
30-day money-back guarantee
Surfshark
Overall score: 9.5
- 4,500+ servers in 100+ countries
- Allows unlimited simultaneous connections
- Integrates stealth mode
- Multihop feature available
- Webcam protection from unauthorized apps
30-day money-back guarantee
Proton VPN
Overall score: 9.4
- 17,250+ servers in 125 countries
- Free version available
- Strong security features
- Reliable no-logs policy
- Allows Perfect Forward Secrecy
30-Day Money-Back Guarantee
CyberGhost
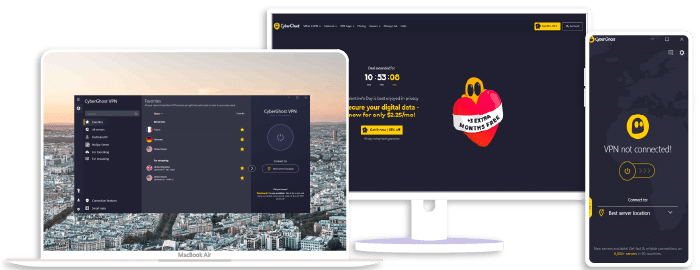
Overall score: 9
- 9,300+ reliable servers in 100 countries
- 45-day money-back guarantee
- Strict no-log policy
- Tough security features
45-Day Money-Back Guarantee
Understanding the Basics of a VPN on Mac
Before diving into the nitty-gritty, let’s get our heads around what a Virtual Private Network (VPN) is. In simple terms, it’s a secure tunnel between your device and the internet. Using a VPN on your Mac can offer substantial benefits.
Why use a VPN on your Mac? Well, there are several reasons:
- Privacy: A VPN keeps your online activities anonymous. It masks your IP address, making it difficult for anyone to track your movements.
- Security: By creating an encrypted tunnel for data transfer, it prevents hackers from stealing sensitive information.
- Accessing geo-restricted content: With a VPN, you can appear to be browsing from another country – handy if you’re trying to access content that’s blocked in your location.
Getting onto specifics now, setting up a VPN on Mac isn’t as daunting as it might seem. In fact, most popular VPN providers such as ExpressVPN, NordVPN or SurfShark have easy-to-use apps designed specifically for macOS.
Here’s how you can typically set one up:
- Download and install the chosen VPN app.
- Open the app and sign in with your account details.
- Connect to any server of choice – this could be within or outside your current location, depending upon why you’re using the VPN.
Remember though: when choosing between various providers like ExpressVPN, NordVPN or Surfshark, make sure to consider factors such as speed performance, security features, number of available servers and price plans.
In conclusion, using a VPN on Mac doesn’t require special tech skills – just pick the right service provider based on what you need most from them!
Step-by-Step Guide: Configuring Your Mac to Use a VPN
Setting up a Virtual Private Network (VPN) on your Mac might seem daunting, but it’s actually quite straightforward. I’ll guide you through the process, using three popular VPN services as examples: ExpressVPN, NordVPN, and Surfshark.
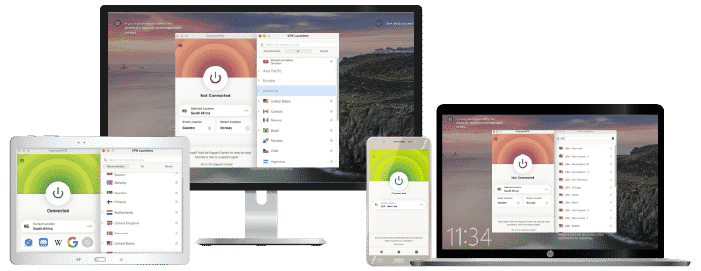
Let’s kick things off with ExpressVPN. After downloading and installing the app from their official website, launch it. You’ll need to enter your activation code (found in ‘My Account’ on their website) then click ‘Sign In’. From here, select a server location and hit ‘Connect’. That’s it! Your Mac is now running ExpressVPN.
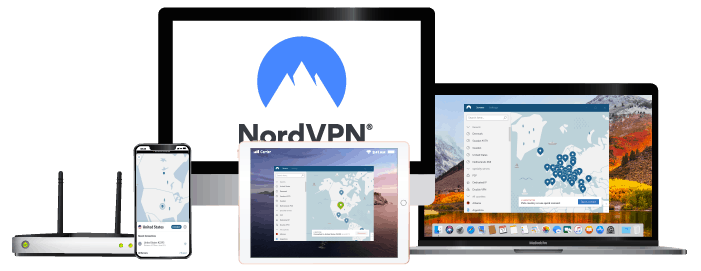
Next up is NordVPN. Start by heading over to their site to download and install the app. Once that’s done, open the app and log in with your NordVPN account details. Choose a country for its server or let Nord pick one for you by clicking on ‘Quick Connect’. Voilà! Your Mac is now under Nord’s protection.
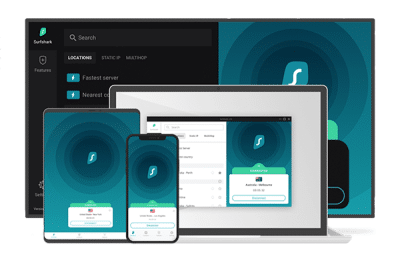
Last but not least is Surfshark. The process isn’t much different from the other two VPNs. After installation, sign in to your account within the Surfshark app on your Mac device. Click ‘Locations’ to select a specific server, or simply hit ‘Connect’ if you’re okay with an automatic selection from Surfshark itself.
Let me highlight some key points:
- Always download VPN apps from official websites.
- Keep track of your login credentials; they’re essential for accessing these services.
- Make sure you choose a suitable server location based on what you need, whether it’s browsing privacy or access to geo-restricted content.
For each of these services – ExpressVPN, NordVPN and Surfshark – remember that while they all offer robust encryption technology for secure connections online, there are differences in features too so do explore them according to what fits best for you!
With this step-by-step guide at hand, configuring your Mac device to use either ExpressVPN, NordVPN or Surfshark should be no sweat at all! Trust me; once you get used to this level of privacy control over your internet activity, stride onto cyberspace like never before!
Conclusion: Maximizing Your Mac’s VPN Experience
Having explored the ins and outs of using a VPN on a Mac, we’ve seen that it’s not as intimidating as you might have thought. I’ve shared my knowledge and tips to guide you through the process, and now it’s time to put these into practice. You’ll soon discover that a world of secure, private browsing is at your fingertips.
ExpressVPN, NordVPN, and Surfshark are some of the most reliable options out there for enhancing your Mac’s internet experience. They each offer unique features designed to meet different needs:
- ExpressVPN shines with its impressive speed. It’s great for streaming or downloading large files.
- NordVPN stands out with its strong security measures. If privacy is your main concern, this might be the one for you.
- Surfshark offers unlimited device connections under one account, which makes it family-friendly.
Remember, though, no matter which VPN service you choose, make sure it aligns with what you need in terms of speed, security, and cost.
It’s also worth noting that while a VPN adds another layer of protection to your online activity on your Mac, it doesn’t render other safety practices obsolete. Continue being cautious about clicking on unknown links or sharing personal information online.
Finally, yet importantly – don’t forget to disconnect from your chosen VPN when not in use! Even though they’re handy tools for maintaining privacy online; keeping them running constantly can slow down your machine over time.
To wrap things up – using a VPN on a Mac isn’t just about bypassing geo-restrictions or surfing anonymously. It’s about taking control over how much information we share online and who has access to it – something that I believe is vital in our digital age.