How to Use VPN on Laptop
Navigating the internet without a Virtual Private Network (VPN) is like trekking through a jungle without a map. It’s easy to lose your way, and even easier to stumble into the wrong territory. I’m here to guide you on how to use a VPN on your laptop. But first, let’s take a moment to understand what a VPN is and why it’s a tool that you definitely should be using.
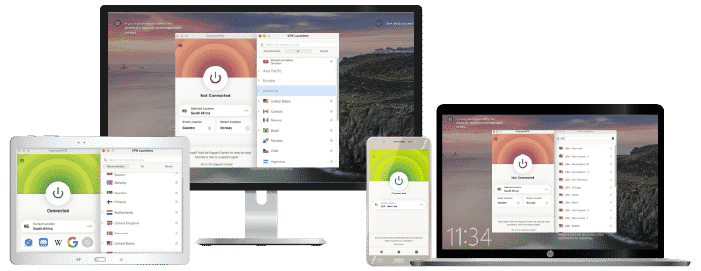
In basic terms, a VPN is like a secure tunnel for your data. It provides an encrypted path for your online activities, protecting you from prying eyes and potential cyber threats. When you browse the internet using a VPN, your traffic is disguised, making it harder for anyone to snoop or track your actions. Whether it’s ExpressVPN, NordVPN, or Surfshark, setting up a VPN on your laptop is a task you should be confident in handling.
I’ll walk you through all the steps with a clear, knowledgeable, and neutral tone. Before we go into the ‘how’, it’s essential to understand that using a VPN can significantly enhance your online security. It doesn’t matter if you’re logging onto public Wi-Fi at the local coffee shop or trying to get around geo-restrictions to access your favorite streaming service from abroad; a VPN is your best friend. Join me as we delve into the world of VPNs, turning you from a novice to an expert in no time. It’s simpler than you might think!
ExpressVPN
Overall score: 9.8
- 3,200 servers across 105 countries
- Works with streaming platforms
- AES 256-bit encryption
- Supports private protocol, Lightway
- Money-back guarantee
30-day money-back guarantee
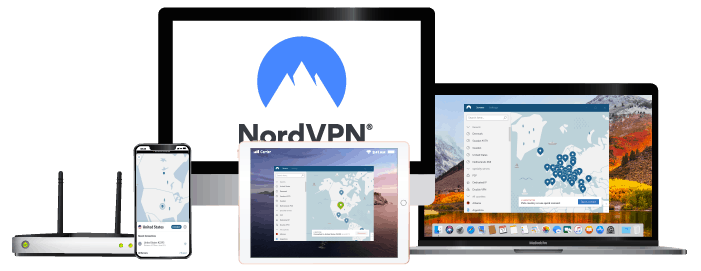
NordVPN
Overall score: 9.6
- 8,700+ servers available in 129 countries
- Connect up to 10 devices simultaneously
- Great security features
- Verified no-logs policy
- Unblocks streaming platforms
30-day money-back guarantee
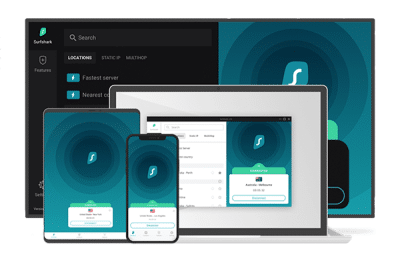
Surfshark
Overall score: 9.5
- 4,500+ servers in 100+ countries
- Allows unlimited simultaneous connections
- Integrates stealth mode
- Multihop feature available
- Webcam protection from unauthorized apps
30-day money-back guarantee
Proton VPN
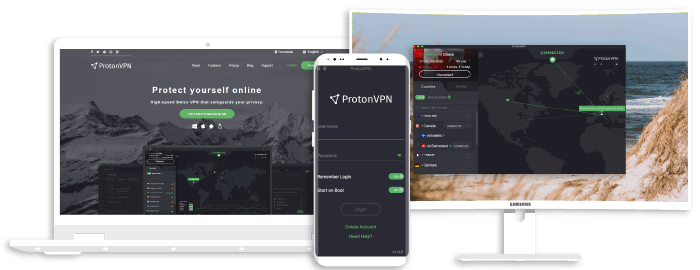
Overall score: 9.4
- 17,250+ servers in 125 countries
- Free version available
- Strong security features
- Reliable no-logs policy
- Allows Perfect Forward Secrecy
30-Day Money-Back Guarantee
CyberGhost
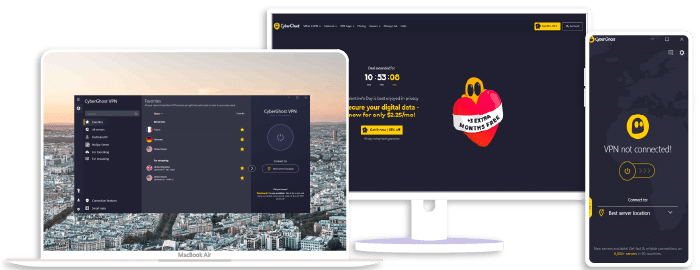
Overall score: 9
- 9,300+ reliable servers in 100 countries
- 45-day money-back guarantee
- Strict no-log policy
- Tough security features
45-Day Money-Back Guarantee
Understanding What a VPN Is
Let’s jump right into it. A VPN, or Virtual Private Network, is a privacy tool that’s become increasingly important in our daily online activities. But what exactly does it do? In simplest terms, it creates a secure, encrypted connection between your device and a server somewhere else on the internet. It’s essentially a private tunnel protecting your data from prying eyes – whether they’re from cybercriminals, corporations, or your internet service provider. And believe me, that’s just the tip of the iceberg.
Now, think of the internet as an ocean full of digital information. Without a VPN, your data is like a boat traveling in these open waters, unprotected and visible to everyone. With a VPN, your data-boat finds protection in a submarine – unseen, untracked, and safe. It’s that extra layer of security that we can all use in our highly connected world.
We all know that online security is crucial these days, but it’s also important to understand that not all VPNs are created equal. Some like ExpressVPN and NordVPN shine in the speed and server choices department, while others like Surfshark bring affordability to the mix. The key is to find one that balances your needs for privacy, security, and usability.
You might ask, “Why should I use a VPN on my laptop?” Here’s why:
- Transact Safely: Online banking and shopping on a public Wi-Fi? You’re an easy target for cybercriminals. A VPN cloaks your activities, making it difficult for these ill-intent folks to access your sensitive details.
- Privacy Protection: Are you aware that your ISP (Internet Service Provider) can see every move you make online? It’s unsettling, and that’s where a VPN steps in, hiding your footsteps in the digital world.
- Overcoming GEO-blocks: Ever bumped into the restrictive ‘content is not available in your region’ message? Irritating, right? Geo-blocks are nothing more than a nuisance with a VPN.
- Limited Ad Tracking: Annoyed by those tailored ads that follow you around? With a VPN, your actual IP address stays hidden, making you less susceptible to targeted advertising.
Let’s not underestimate the importance of VPNs, especially in our increasingly digital and constantly connected lifestyles. In the following sections, I’ll dive into more specifics on how you can operationalize VPN on your laptop.
Step-by-Step Guide: Using a VPN on Your Laptop
It’s become increasingly important to safeguard your online privacy and a Virtual Private Network (VPN), such as ExpressVPN, NordVPN, and Surfshark, is an excellent tool for that. Let’s walk you through the steps of using a VPN on your laptop.
Firstly, you’ll need to choose a VPN service that meets your needs. Are you looking for better privacy, bypassing geo-restrictions, or faster connection speeds? Services like NordVPN and ExpressVPN are renowned for their privacy and security features. Conversely, if it’s speed you’re after, you might consider Surfshark.
After choosing the VPN that suits you best, proceed to their website. Make your purchase decision based on the packages they offer. Most of the time, they’ll have options spanning one month to multi-year plans.
Downloading the VPN software is your next move. Navigate to the “downloads” section of the VPN’s website. There you’ll find software for various platforms – Windows, Mac, iOS, Android. As we’re focusing on laptops, select the software that matches your laptop’s operating system (OS).
Got the software? Great! Now install it. The installation process could differ slightly depending on your selected VPN service and the laptop OS. Generally, though, all you’ll need to do is follow the prompts given by the software installer. Don’t fret, it’s a straightforward process.
The installation complete, open your new VPN application. Use the login details you received during sign-up to access your account. Inside, you’ll encounter a selection of ‘servers’ you can connect to. These servers essentially disguise your connection, bouncing it around different locations to make it appear as though you’re browsing from somewhere else. It’s the core principle of how VPNs provide privacy.
Choosing a server can hinge on different factors. If you’re simply after privacy, the closest server to your actual location is often the best choice. For bypassing geo-restrictions, choose a server in the country that hosts the content you’re trying to access.
After clicking ‘connect’, the VPN will handle the rest! You’re now browsing securely with your laptop’s VPN.
Remember, a VPN isn’t a one-time setup. It’s important you connect each time you want your online activities to remain private. Don’t worry, though, after repeating this process a few times, it’ll become second nature.
You’re now one step closer to secure, private browsing. Happy surfing!