How to Set Up and Use NordVPN on Netgear Router (2026 Guide)
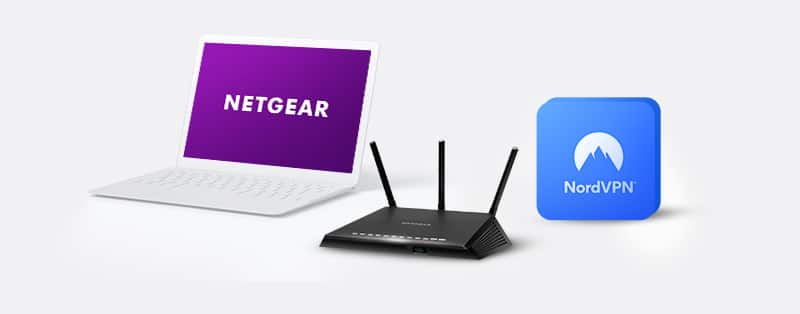
Netgear is the award-winning wireless home router and one of the fastest on the block too. As usual, to get the most out of this router, pairing it with a VPN is a wise move. You can effectively protect all your devices connected to the Netgear router by using it with a VPN.
NordVPN is one of the most secure, fastest, and privately-run VPN of our time. With a VPN, you create a secure virtual connection to the Internet.
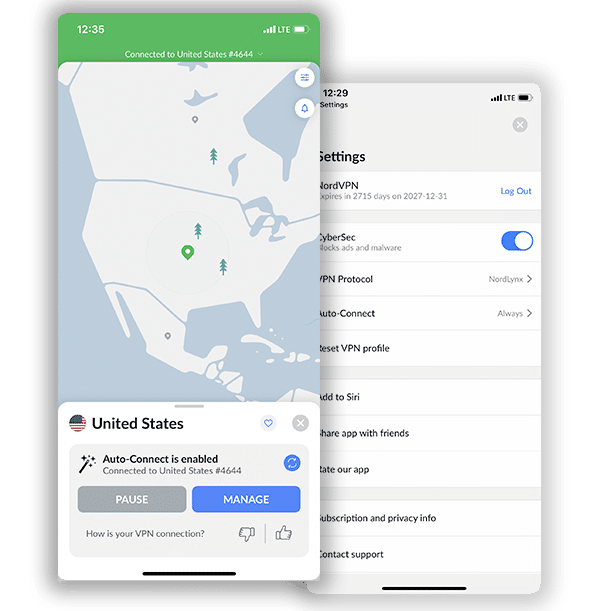
To connect Netgear to NordVPN, you first need to set up a NordVPN account. These are the steps required to set up and install NordVPN.
How to Set Up a NordVPN Account
NordVPN is a paid subscription. However, subscription plans are relatively inexpensive.
First: Visit the official NordVPN site to register your account. In the overhead banner, click on the Pricing option to check out the various plans available. The less expensive the plan, the more you pay per month.
The most expensive plan is the premium plan at $11.95 per month, while the most affordable is the basic plan at $3.71 per month. We recommend buying an extended warranty if you can afford it.
Next: Select your membership plan and choose your preferred payment method. You can choose to pay via anonymous payment methods like credit cards or cryptocurrency.
Lastly: Check your account for an invoiced payment. Click the link to activate your NordVPN subscription.
Get NordVPN for Netgear Router
Setting Up NordVPN on Netgear Router
Many routers don’t have built-in VPN support features. For a router like Netgear to be compatible with VPNs, you can replace its firmware with one that works with VPN-supporting firmware. Installing the DD-WRT firmware on your router is one of the best ways to do this.
DD-WRT firmware on your Netgear router helps you connect as many devices as you want on the router. Also, it enables you to connect devices that are not usually compatible with VPNs to your NordVPN account.
To begin, first, install the DD-WRT firmware using this guide. After completing the installation process and have completed the configuration, continue with the following steps:
Step 1: Click on “Setup,” then “Basic Setup” on the installation page. Input the following NordVPN addresses listed below into the Network server settings (you can find it below the DHCP settings.)
Static DNS 1 as 103.86.96.100
Static DNS 2 as 103.86.99.100
Static DNS 3 as 0.0.0.0 (default)
Select [mark] for “Use DNSMasq for DNS.”
Select [mark] for “Use DNSMasq for DHCP.”
Select [mark] for “DHCP-Authoritative.”
Once you’re done, click ‘Save’ to finish your application, then ‘Apply’ to apply it to all listed addresses.
Step 2: Head to Setup, then IPv6. Disable IPv6 and apply the changes. This will keep IP leaks to the minimum.
Step 3: Click Services >> VPN. Open “OpenVPN client.” Enter the code below:
Server IP/Name is: Connect to us936.nordvpn.com or connect to the suggested server. Select “Show available protocols” and then choose either UDP or TCP.
For Port use “1194”. (To switch to TCP protocol, use 443)
For “tunnel device,” use “TUN”
For “tunnel protocol,” use “UDP” or “TCP”
For “Hash Algorithm,” use “SHA-512”
For “Cipher Encryption,” use “AES-265-CBC”
For “User Pass Authentication,” press “Enable”
> To log into NordVPN, enter your NordVPN credentials (email and password)
To access “Advanced Options” press “Enable” to enable extra functions.
For “LZO Compression,” choose “Disable”
For “TLS Cipher,” choose “None”
For “Nat,” choose “Enable”
Step 4: To insert additional configurations, copy and paste the following commands into the provided box:
remote-cert-tls server
remote-random
nobind
tun-mtu 1500
tun-mtu-extra 32
mssfix 1450
persist-key
persist-tun
ping-timer-rem
reneg-sec 0
#log /tmp/vpn.log
#auth-user-pass /tmp/openvpncl/user.conf
Step 5: This step requires that you open the downloaded configuration file in text editing software. For this purpose, we recommend using Notepad++; the most effective editor for this purpose.
Step 6: On the .ovpn server, there are two parts of the file. Do not copy the <ca> part.
Step 7: Copy the remaining text and paste it on “CA Cert.”
Step 8: Select the data configuration file and check for the part titled “tls-auth”. Copy all the TLS Key content.
Step 9: Paste the entire content into the “TLS Auth Key” box. It should start with “Begin OpenVPN Static Key V1” and end with “End OpenVPN Static Key V1”.
Step 10: After you have made all the inputs, tap “Save” and “Apply” to save the configuration.
Step 11: If you are not sure whether your VPN is connected or not, tap the “OpenVPN” option to reveal the VPN configuration status. If it’s connected, you would see a “Client: connected success” message.
Step 12: To turn on the Kill Switch, head to the Administration tab and select Commands. Input the following commands:
WAN_IF=`nvram get wan_iface`
iptables -I FORWARD -i br0 -o $WAN_IF -j REJECT –reject-with icmp-host-prohibited
iptables -I FORWARD -i br0 -p tcp -o $WAN_IF -j REJECT –reject-with tcp-reset
iptables -I FORWARD -i br0 -p udp -o $WAN_IF -j REJECT –reject-with udp-reset
Once this step is done, click “Save Firewall” > “Management” > “Reboot Router”
Why Use NordVPN for Your Netgear Router?
NordVPN is one of the top-rated VPNs on the market for good reason.
It is second only to ExpressVPN on the market and has been in a constant tussle with ExpressVPN for the top spot for many years. Dedicated users have tested this VPN and proven it to be as high-end as it claims.
Choosing NordVPN to run with your Netgear router shows that you’re ready to enjoy the best of both worlds on the internet space; privacy and speed. Many users who have tried this combo have given a litany of why they think NordVPN and Netgear make a good match.
Check out a few of the reasons why you should choose NordVPN for your Netgear router below:
1. Online freedom: Internet users who enjoy streaming and downloading content should choose NordVPN. Its services allow you to bypass any restrictions on any device from anywhere in the world.
2. Fully private experience: It’s a private alternative, secure and free from the scrutiny of government, hackers, and even the VPN provider. They maintain strict no-logs policies and use advanced DNS leak protection to protect your identity and privacy on the web.
3. Military-grade encryption: NordVPN safeguards all your web-based activities by implementing a strong encryption algorithm (AES 256). Similarly, if your VPN connection drops, its Kill Switch feature automatically shuts off your computer from the internet, which is great. With NordVPN, you are secure no matter where you are online.
4. Fast internet experience: You can maximize your Internet connection with NordVPN. This means you can stream or download or upload on the internet at an unimaginable speed. With your Netgear router, it’s swift web-surfing all day, every day.
5. Easy to use: The simplicity of NordVPN helps you navigate the VPN site seamlessly. The program predicts your needs and has features that help you find what you need when you need it so that you don’t get frustrated on the network. This gives you the best VPN experience you can imagine.
6. Cost-effective: NordVPN comes at a reasonable price and provides savings of up to 70% when you subscribe to its 3-year plan. Plans often come with a 30-day free guarantee period. With this, you can see whether you like the services they offer and cancel your subscription for a full refund within this period if you don’t.
7. Almost no logs: NordVPN takes its no-log policy seriously and avoids unnecessarily logging user data. It’s Panama-based, so it’s not under any governmental obligation to keep track of your activities online. The only information NordVPN keeps is your email address, payment details, and previous session time.
Get NordVPN for Netgear Router
How to Replace Firmware on a Netgear Router
If you want to connect to a remote server via a Virtual Private Network (VPN), your router must be firmware updated. Flashing a router can be time-consuming and can destroy your router if you don’t do it properly. These are the steps you should follow:
1. Get the built-in VPN firmware for the Netgear router you own. We suggest using a DD-WRT or Tomato-based device.
2. Open any web browser and search for Router Login
3. Enter your user account information to access the router’s administrative settings (Netgear Genie). By default, an administrator’s username is administrator, and an administrator’s password is password. If these are not correct, you must change the credentials presented.
4. Click on Advanced, then select Administration, and go to Router Update.
5. Navigate back to the firmware that you initially downloaded from Step 1 of our Set-Up guide.
6. Select Upload to flash the router.
7. Finally, reboot the router.
With the new software, you can connect to a server through a VPN.
Frequently Asked Questions on How to SetUp NordVPN on Netgear Router
Does Netgear support VPN services?
Yes, you can convert your Netgear router to a VPN. It then allows you to access the internet through your home network. So, suppose an internet service is available in your home location but unavailable in a foreign place. With your Netgear VPN service, you can access this geo-blocked material. Essentially, your Netgear router serves as the VPN server. However, you cannot connect to or unblock online content in other locations. This is why you need NordVPN.
Are Netgear Routers safe without VPNs?
Yes, Netgear routers have a significant level of security. The company consistently notices security flaws and patches them. Unfortunately, however, hackers and other cybercriminals can still exploit these security flaws. If this happens, the devices connected over the Netgear network will face a significant security risk. With NordVPN, though, you don’t have to experience these issues. Instead, your Netgear router and connected devices will be protected by NordVPN’s AES 256-bit encryption. This encryption level effectively keeps cybercriminals and data snoops away.
How many Netgear Router connections can I protect with NordVPN?
Netgear routers can support several client devices. For example, Netgear routers can support 32 to 100 devices depending on the router’s type. Fortunately, a NordVPN connection will encrypt all the devices connected to one router. NordVPN also offers six simultaneous connections. However, one router with all the connected devices counts as one connection on NordVPN. So, you can connect five other devices, including Netgear routers. Overburdening the network can cause slower browsing, though.
Should I use a free VPN for my Netgear Router?
No, it’ll be best never to use a free VPN for your Netgear router. Suppose you find a compatible free VPN; such a VPN may have other issues such as poor security. For example, many free VPNs don’t encrypt users’ networks. Therefore, the devices connected to your router will be at risk of cyber invasions. The VPN may also store and sell your connection logs to unscrupulous third parties. Worse still, many free VPNs have data and bandwidth caps that will limit your browsing capacities.
Conclusion
Summarily, using NordVPN on your router will save you time setting up Virtual Private Networks on your other devices.
The steps we have listed to help you set up NordVPN on your Netgear router are straightforward if you follow the instructions. Don’t hesitate; follow the above steps strictly, and you are ready to go.