
Find the Best VPN for Bluestacks
If you’d like to run an Android emulator on your PC, you’ll very much need a Bluestacks VPN. Why? This nifty software will allow you to run Android apps on your Mac or Windows device, but you still need to prevent your ISP and other service providers from tracking your online activity. Installing a VPN on Bluestacks will also help deal with many security vulnerabilities associated with different mobile apps.
Want to know more about how to use a VPN on Bluestacks? We’ve come up with this power-packed guide that unravels everything you need to know about why you need a VPN Bluestacks, how to install it, and more. We’ll also review top VPNs, detailing the features to look for in selecting the best VPN for Bluestacks.
What is Bluestacks?
Bluestacks is your go-to software for emulating the Android operating system on your PC or Mac. Boasting no less than 145 million users worldwide, it’s one of the oldest Android emulators around. You can use it to run pretty much any Android app imaginable on your laptop. It’s also quite popular with the gaming community. In fact, it’s one of the largest mobile gaming platforms that allow you to run and play Android games directly on your computer. You can play titles like the iconic PUBG Mobile, to mention but a few.
How to Download and Install Bluestacks
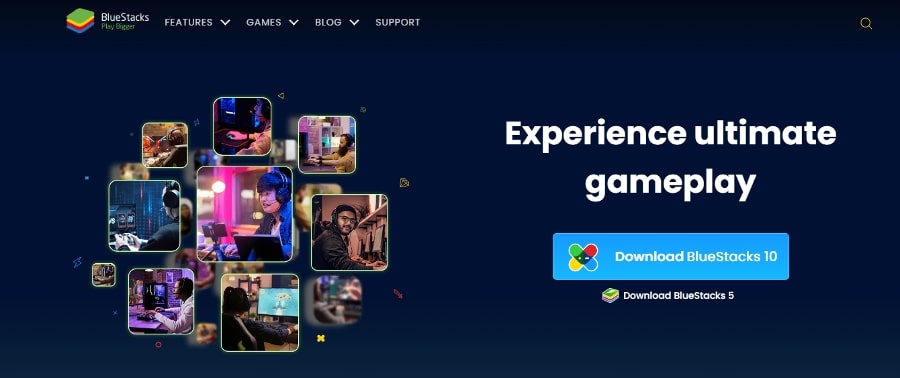
Ready to learn how to install a VPN on Bluestacks? Thankfully, the process of downloading and installing Bluestacks is pretty straightforward, even for the less tech-savvy. Before you download, ensure your PC meets the minimum requirements for the Bluestacks version in question. If all is in order, follow these easy steps.
- Go to the official Bluestacks website and click “Download Bluestacks”. This should get you the latest version of the app.
- The Bluestacks Installer will immediately start to download.
- Once the download is complete, launch the installer by clicking on the “Install Now” button.
- Give it a few minutes for the installation process to complete. You can view the installation progress by checking the time left displayed on the screen.
- Once installation is done, Bluestacks will launch. And just like that, you can now sign up to your Google account to access the Play Store or install APK files.
How to Use Bluestacks with a VPN
We’ve established that using a Bluestacks VPN stops unauthorized parties from keeping tabs on your online activities. You have a couple of options to explore if you want to protect your Bluestacks using a VPN.
The first is to install the VPN Bluestacks directly onto the Android emulator. This is the route to take if you want VPN protection that doesn’t impact the rest of your PC. The VPN creates a split tunnel that enables you to use your PC or Mac without the VPN connection.
Another option is to use the VPN app for your Mac or Windows. Such a VPN connection affects ALL apps on your PC—including Bluestacks. Below is a quick outline of how to use VPN on Bluestacks for both a PC and a Mac.
Install and Use Bluestacks on a PC
To install the VPN for Bluestacks on your PC, follow these easy steps:
- Download Bluestacks from the website using the steps outlined earlier.
- Install the application on your PC.
- Click on the Install tab.
- Once you install Bluestacks, head over to Google Play Store.
- Pick your preferred VPN and install it onto your PC.
- When the installation ends, go to the homepage.
- Click on the VPN app and log in.
- Select and connect to a high-speed server near you.
- Proceed to use your apps or play games.
Install and Use Bluestacks on a Mac
To convert your Mac into a virtual Android app using a VPN within Bluestacks, follow these quick steps:
- Launch Bluestacks onto your Mac device.
- Go to Google Play Store and download your preferred VPN.
- Create an account or sign in to the VPN using your email address and password.
- Press OK to allow the VPN connection to set up.
- Select your preferred location.
- Click the power icon displayed on the screen to connect to the server.
Choosing the Best VPN for Bluestacks
Let’s get down to choosing the best VPN for Bluestacks for your needs. Users have all sorts of VPNs to pick from, but not all are worth the trouble. After reviewing many top VPNs, the following three providers stood out for us in different areas, from security to performance and everything in between.
ExpressVPN
Overall score: 9.8
- 3,200 servers across 105 countries
- Works with streaming platforms
- AES 256-bit encryption
- Supports private protocol, Lightway
- Money-back guarantee
30-day money-back guarantee
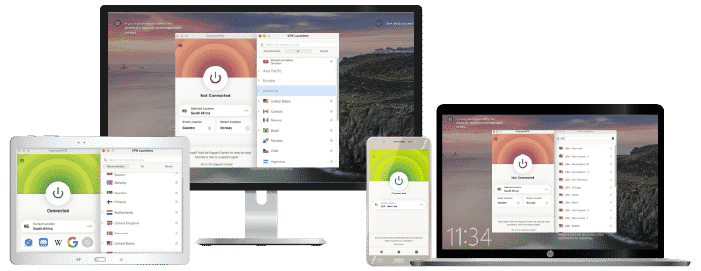
ExpressVPN is the best VPN to use for Bluestacks if you want a lightning-fast VPN that supports Android versions 5.0 and higher. With average speeds of 79.21Mbps, you can count on it to deliver blazing speeds without compromising security.
Moreover, ExpressVPN is a highly secure and private Bluestacks VPN that boasts fantastic features like Split Tunneling and DNS Leak Protection. We’ll admit it’s not the cheapest option, but worth every penny if the impressive speeds and substantial server locations are any consolation. You can connect to any of the 3,000+ servers in 160 locations across the globe.
NordVPN
Overall score: 9.6
- 8,700+ servers available in 129 countries
- Connect up to 10 devices simultaneously
- Great security features
- Verified no-logs policy
- Unblocks streaming platforms
30-day money-back guarantee
NordVPN is another solid choice if you’re looking for a VPN on Bluestacks with extensive server coverage. With over 5,500 servers around the world, you shouldn’t find it difficult to locate one near you. Moreover, it has servers designed to navigate strict firewalls in countries like China. Nord outshines ExpressVPN by supporting Android versions 6.0 and higher.
Expect zero when you use it with Bluestacks, thanks to the fast speeds averaging 80Mbps. We also picked up impressive security features like a Kill Switch and DDoS Protection. Both are essential for the safe use of Bluestacks and for downloading blocked apps.
Surfshark
Overall score: 9.5
- 4,500+ servers in 100+ countries
- Allows unlimited simultaneous connections
- Integrates stealth mode
- Multihop feature available
- Webcam protection from unauthorized apps
30-day money-back guarantee
When looking for a VPN for Bluestacks, you don’t need to break the bank to get one. That’s especially true if you go for SurfShark, our best-value VPN with premium features that compete with high-end VPNs. You can enjoy access to the 3,200+ servers worldwide for a relatively low price.
SurfShark is a secure VPN running on rock-solid 256-bit encryption. You also get loads of other features, including Multi-Hop, DNS leak protection, and other benchmark protocols that allow you to download blocked apps safely. Like ExpressVPN, SurfShark also supports Android version 5.0 and higher.
Why Use a VPN for Bluestacks?
You now know how to set up a VPN for Bluestacks, now let’s discuss why you need one. Bluestacks, on its own, is generally safe to use. But it’s where you download mobile apps from that comes with potential risks. Over the years, several Play Store apps has received flak for all sorts of reasons, including hosting apps with malware.
You can trust a VPN to give you added security when downloading apps. Then, of course, there’s the issue of some apps being geo-blocked. A VPN downloads geo-restricted apps on the Google Play Store and also bypasses IPS throttling. If you’re looking to use mobile apps that only work in limited regions, or access a game or movie catalog from a different country, you’ll need a Bluestacks VPN.
Troubleshoot – Bluestacks VPN Not Working?
Is your Bluestacks VPN not working? Don’t fret. It’s not uncommon to keep getting an error message each time you try to install and use a Bluestacks VPN. No doubt it can be frustrating. To help you out, we’ve put together a few reasons why annoying error messages may keep popping up:
- You may have connected to a server that’s in an unsupported region.
- The app in use may have identified and blocked your VPN.
- Your true IPS address may be exposed.
- Cookies may be revealing your real location.
- Your VPN connection may have dropped and stopped functioning.
To rectify these issues, it’s worth exploring the following ideas:
- Confirm if you have indeed connected to a server in the correct area.
- Check if you enabled the Leak Protection feature.
- Try out a different server altogether.
- Try a different browser.
- Clear your cookies.
- Contact the VPN’s support team where necessary.
The mentioned troubleshooting ideas should help you come right. However, if you’ve tried them all and still have no luck, it may be worth upgrading to a different VPN.
Conclusion
Bluestacks is undoubtedly a popular software that makes life for Android users simpler. Its ability to bring the Android experience onto your PC or Mac device is convenient. However, you can’t rule out the possibility of security vulnerabilities. Also, some apps you’re interested in may be geo-blocked, denying you access.
A VPN navigates these hurdles and more by protecting your data online and breaking down geo-restrictions. Be that as it may, you can only enjoy all this when you pick a trusted and reliable VPN like ExpressVPN. Download ExpressVPN now and use Bluestacks with peace of mind.
Exclusive offer for Techrobot readers: $2.44/month (Save 81% + 4 Months FREE)
30-day money-back guarantee
FAQ
How to use a VPN on Bluestacks?
To use a VPN on Bluestacks, you download an app directly onto the Android emulator. An alternative is to connect the emulator via your computer’s VPN app. The former only protects your VPN and not the entire PC. The latter covers all apps running on the PC, including Bluestacks.
How to install a VPN in Bluestacks?
To install a VPN on Bluestacks, first, download it from the official Bluestacks website. Follow the intuitive prompts and launch the VPN on your device. Visit the Play Store, choose a VPN, download it, and sign up.
What free VPN app works on Bluestacks?
You can use a free VPN for Bluestacks if you’re not too keen on spending on a paid network. Several options are available to pick from, including Proton, Atlas, and Hide.me. Depending on the one you go with, you can even enjoy unlimited data, multiple servers, and limited customer support.
Which VPN is the best?
ExpressVPN is hands down one of the top VPNs, with its super-fast speed, comprehensive server locations, and robust security features. It’s a highly versatile and easy-to-set-up VPN that guarantees online security across your devices.
Related Posts
- Stay Connected with Fortnite Twitter (Fortnite X): Tips & Tricks
- The Best No Lag VPN for Faster Servers & Lower Latency in 2026
- Find the Best Meta Quest 2 VPN
- Get The Most Out Of Roblox With A VPN
- Find the Best VPN for Xbox Series X
- How Much Do Game Developers Know About You?
- Indonesia Blocks PayPal and Gaming Services Over New Licensing Rules
- Best VPNs for Discord – Using a VPN for VOIP in Gaming
- 5 Best VPNs for Fortnite
- Find The Best VPN for Gaming in 2026 – Your Guide to Gaming on a VPN