Page not found
Oops! It looks like you’ve taken a wrong turn on the internet.
Don’t worry, we’re here to help you get back on track. At TechRobot.com, we work hard to bring you the best information and most up-to-date reviews on VPN services.
Here are some useful links that might help you:
- Home: Reboot from our homepage.
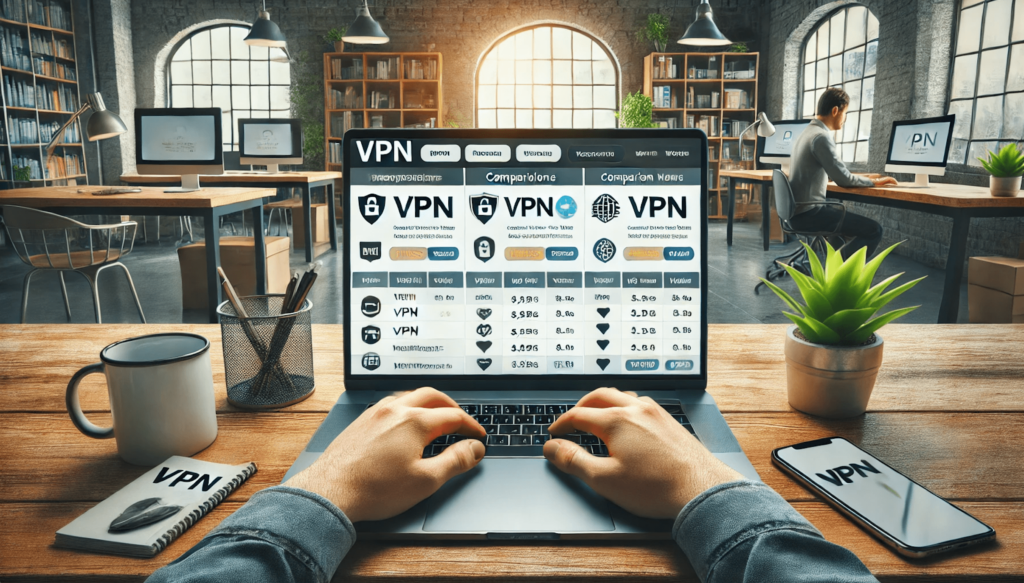
- Compare VPN services: See our comprehensive comparison of the best VPN services on the market.
- Guide to VPNs: Learn everything you need to know about VPNs and how they can protect your online privacy.
- Reviews: Read our detailed reviews of popular VPN services.
- News and Tips: Stay up to date with the latest news and tips on online security and privacy.
We appreciate you visiting TechRobot.com and we hope you find what you’re looking for. If you still need help, you can contact us directly through our contact page.
Thank you for visiting us, and we hope you find the information you need to secure your online privacy!